Crochet Lifebuoy Pattern
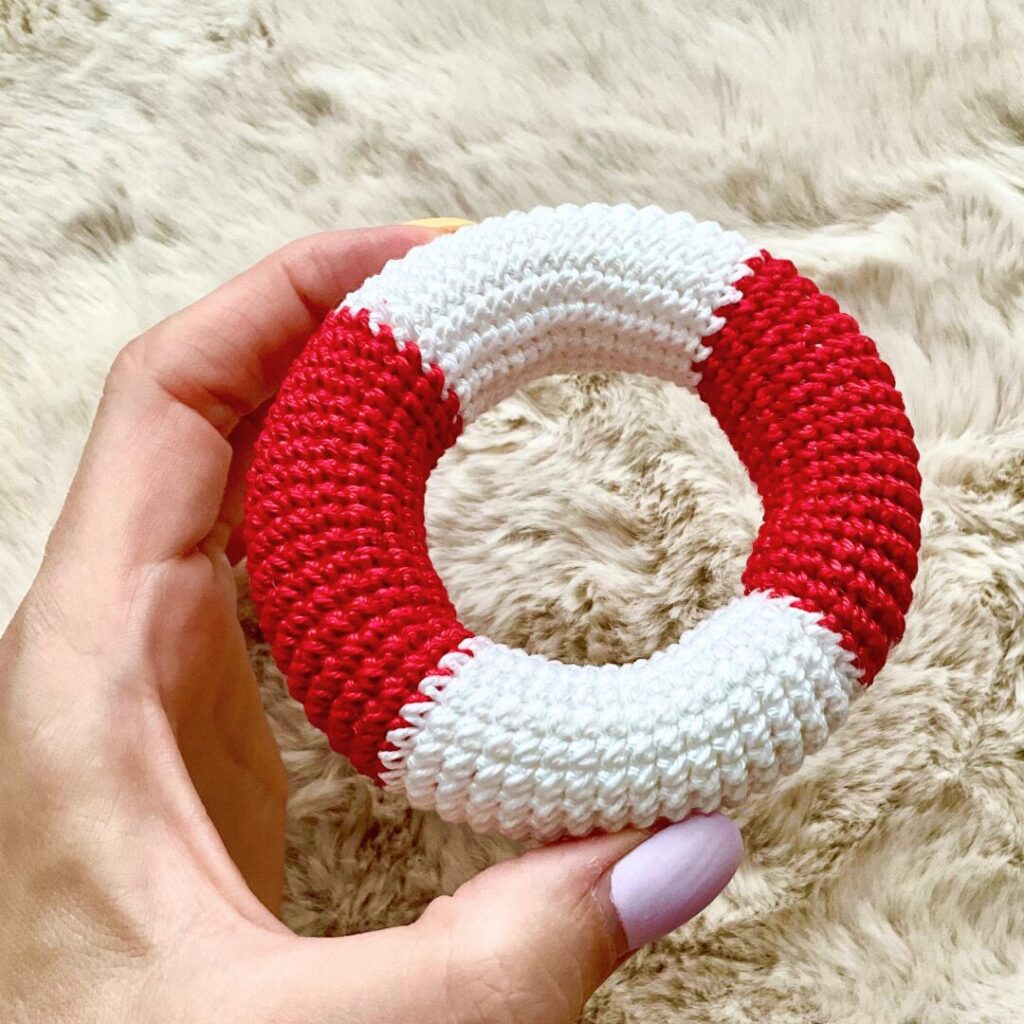
The right toy for summer? Definitely this crochet lifebuoy pattern, life ring, swim ring, which serves as a teether and a rattle at the same time. The best thing about this pattern? You can mix and match it with other toys from my toy portfolio.

All else I’ll tell you is that this pattern isn’t complicated at all and it’s quick to make.
Don’t you want to read this pattern online?
We have a solution for you:
Crochet Lifebuoy Pattern
A Lifebuoy toy with a summer theme that can be used as a teether or rattle. This is a DIGITAL PRODUCT! Please read the description below for more information.
Crochet Lifebuoy Pattern As A Rattle
Below you will find the instructions for making this lifebuoy or swimm ring, which you can print out straight away.

Crochet Lifebuoy Rattle Pattern
The right crochet toy for this summer.
Materials
- Yarn - Schachenmayr Catania Originals
- C1 = color No. 00115 (red)
- C2 = color No. 00106 (white)
- Filling
- Rattle - max 2 cm | 0.787 diameter or smaller
Tools
- Hook - 2.5 mm
- Tapestry needle
- Scissors
Instructions
Notes
Abbreviations
- beg - beginning
- C1 - color number 1
- C2 - color number 2
- ch - chain
- R - round
- sc - stitch
- sl st - slip stitch
Terms
- If the number of some stitches is written before the stitch you work those stitches into the same stitch (example: 3 scs)
- If the number is written after the stitch, work ONE stitch into each of next NUMBER of stitches (example: scs 3)
Recommended Products
As an Amazon Associate and member of other affiliate programs, I earn from qualifying purchases.
Notes
- This pattern is written in US terminology.
- For Amigurumi allways use a hook that is smaller than the size recommended for your yarn weight. This will ensure that your stuffing will not show through the stitches.
- The toy is worked in one piece and in the round. Use a stitch marker to indicate the beginning of each round.
- Body requires stuffing. Stuff as you work to ensure the piece is completely filled.
- Never leave a child unattended with this toy!
How To Use The Lifebuoy Toy
This crocheted lifebuoy can be used on its own, as a teether or rattle. You can change the colours and swap the red wool for dark blue or orange, for example.
The perfect thing about this lifebuoy is that it fits and can be worn over many of the toys in my offer, so you can mix and match it any way you like.
Toy Combinations For The Swim Ring
You can certainly use it together with other toys from my offer as a little summer bundle:
What other creative uses can you think of for this amigurumi crochet lifebuoy pattern?
Please share your ideas in the comments below the post, I’d love to read them!
Did you make this project?
We would love to see what you have created so mention us @laliandjoli or tag us using #createdwithl&j so we can see your creations!
Save now, crochet later! 👇🏻


